Showing posts with label quilt. Show all posts

Friday, October 1, 2010

Quilt for a cause!

A few weeks after finding out about my own cancer deal, I was on Babycenter (a website for mommies). They have a lot of different groups for common interests such as birth clubs for your baby, or my personal favorite- a crafting and sewing group!  I have gotten a lot of neat ideas and inspiration from the ladies over there and then I read about a 14 year old girl name Olivia.

This is the original post:
Yes, it is odd to make a 'lovie' for a 14 yo girl, but this is a special girl who found on on Friday that she has a cancerous mass around her knee, and started very aggressive chemo therapy on Monday, after having surgery to put in 2 ports in her chest.

She has a very long road ahead of her and I want to make her something that she can take back and forth with her to hold onto when she is having a bad day. She was told to expect her hair to fall out so I will probably make some fleece hats for her when it gets a little colder out.
We have our house on the market to sell, so I don't want to get a ton of sewing stuff out that will take a lot of time to clean up if we have a showing.
And if any of you are the praying type, please pray for Olivia.

I read this on a Wednesday and I was going to be out for my own surgery starting on Friday, but I knew I had to do something! I replied saying that I was touched by this and wanted to make something for her. I asked Debbe (the person who posted) what the teenager liked and *shocker* the response was TWILIGHT!! (with the caveat that she did NOT like Jacob! But, um he's the hot one!!! I digress..). I am a teacher and have a huge network of other teachers and people in the district available via a virtual "bulletin board", so I posted that I was in search of Twilight t-shirts that would be used for a quilt for Olivia, but that I needed them by Friday! I was impressed with the responses I received and ended up collecting six shirts! Some of them even came from students in the district! Amazing!
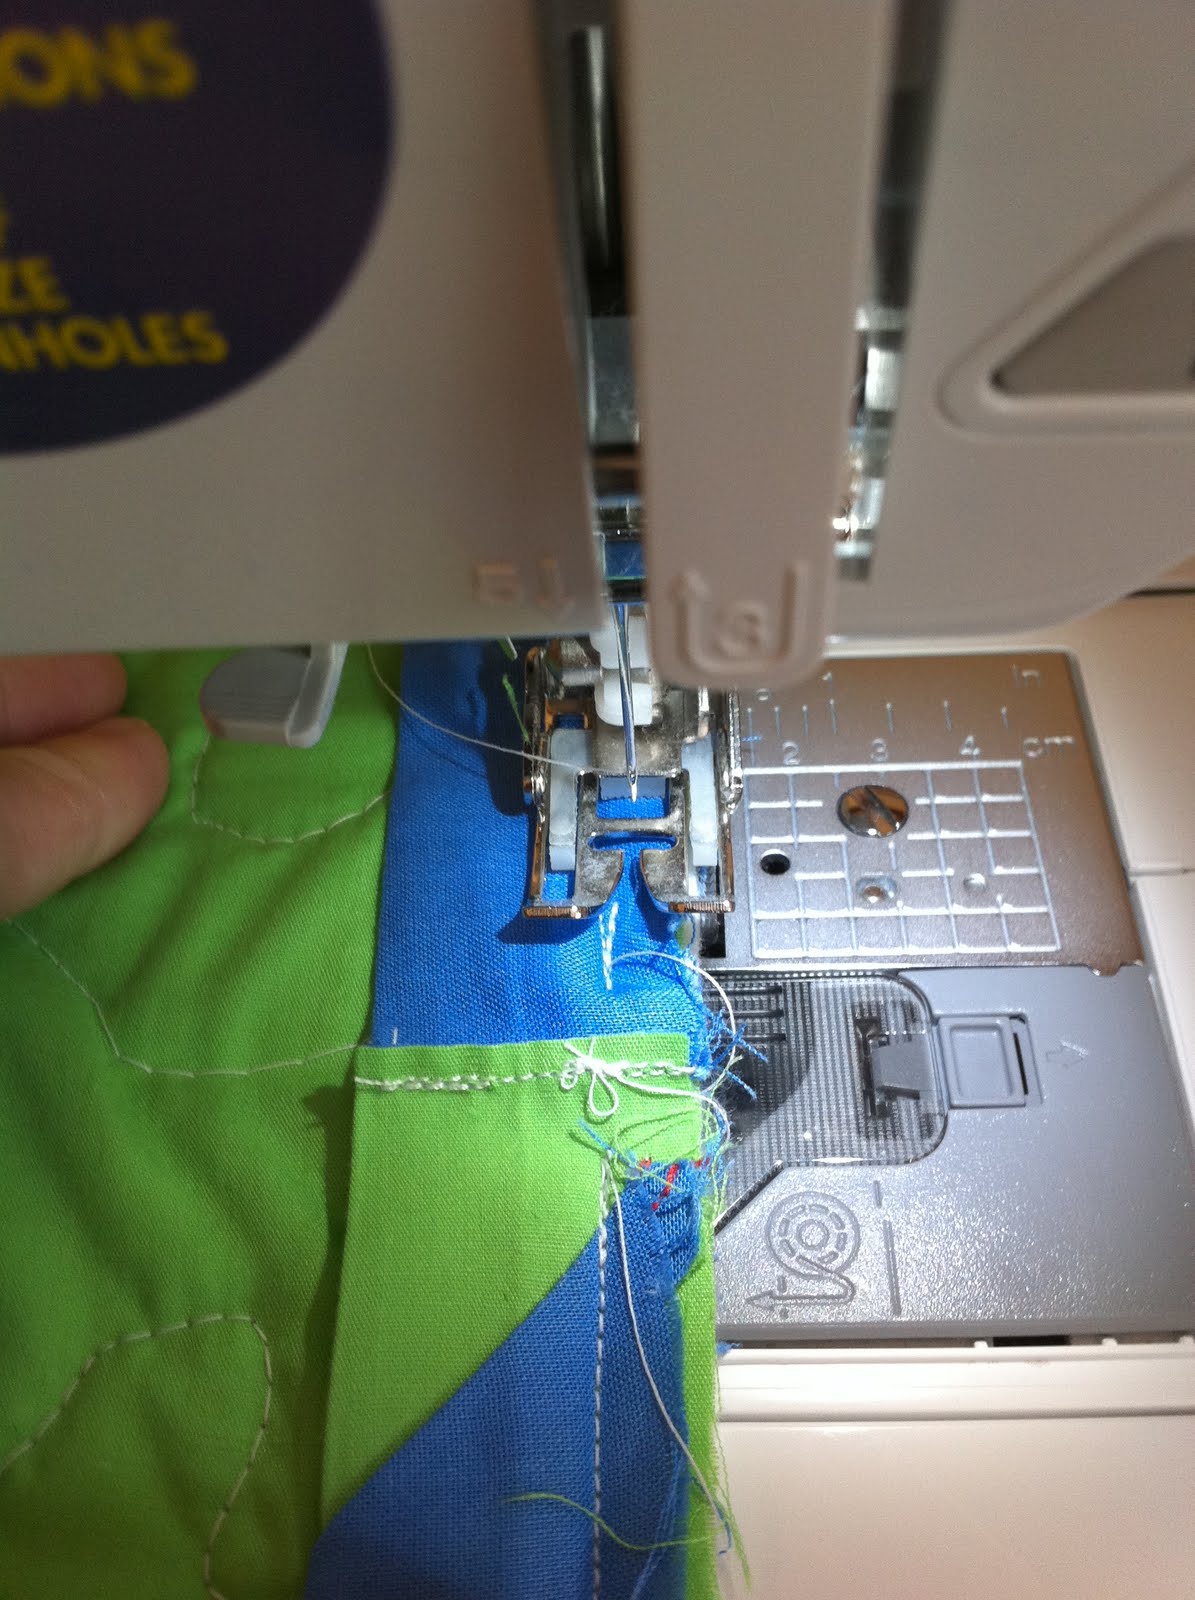
I went home and found a large piece of black fleece that I could use for the back of the blanket and hadn't yet decided what I would do for the borders. I packed up the shirts and fleece along with my hospital bags and "after hospital" bag that would be taken out to my parents house where I would be for a few days after I was released from the hospital. I had my surgery on Tuesday and was at my parents from Thursday evening until Sunday. I managed to get the shirts cut apart, laid out in a design that would work for the blanket, and then sewn together. I also made one of the shirts into a pair of yoga pants following this tutorial. I finished up the blanket after I got home and was able to get into my fabric stash and figure out what I was going to use for my borders. I found a mustardy colored fleece that I think coordinated well with some of the colors in the t-shirt graphics. I am super pleased with the final product, but I learned a big lesson when making this! I should have treated it like a quilt and pinned the heck out of the sucker!! There is some bunching on the back, but it doesn't affect the purpose or function of the blanket and hopefully Olivia won't mind!! At least the front looks fab! :)

Here it is- all laid out on the floor of my mom's sewing room. All of the fabric here (besides the fleece back) is from the t-shirts. I cut them up and used as much as I could!


Here we are on the floor of my 2-year old's bedroom with the top and bottom border added.

Side borders have been added. I ended up having to trim down the side borders because um.. it was bigger than the back  of the blanket. Totally should measure the back of the blanket to make sure it is squared up *before* making the front! Just sayin'..

It is all pinned and ready to be sewn!

VIOLA! There she be! Team Edward... and stuff!

 Here's the super awesome and amazingly comfortable yoga pants from a t-shirt!

I received the following message from one of Olivia's sisters. THIS is why I took the time to do this. Reading this letter brought tears to my eyes. I hope Olivia loves this and that it can bring comfort to her during this difficult time.

Tracy, My name in Erin and I am the oldest sister of Olivia to whom the blanket is for. I can not begin to tell you how much I appreciate you and what you are doing for Olivia. Olivia LOVES Twilight and when Debbie first told me that she had a friend who could make this kind of thing, I didn't realize she meant right away. She told me about your cancer and b/c I see what Olivia is going through everyday, I didn't think this would have been something you could feel up to doing now. Words can not decribe how perfect the blanket is and she will just be as blown away as I am. I want to thank you from the bottom of my heart for making the blanket and pray that our Lord will help you to heal quickly. If there's anything I can do, I know Debbie said you don't want payment, but maybe a donation??? I would be more than willing. Neither Olivia or our parent's know about this b/c I didn't realize how quick it would be so they will be so happy. thank you once again and know that you will be in my heart and prayers. Sincerley, Erin


FYI- I did not, and will not, accept payment for this. Thinking about and working on this blanket was therapeutic for me and I enjoyed it, every step of the way!

Tuesday, July 27, 2010

Boo for busy!

So, along came the weekend and then the week began with two days of  teacher training. That, combined with my sweet baby boy that enjoys eating 2-3 times a night = a tired mama with not much time to blog! I DID, however manage to eek out some projects since I last wrote!

Saturday morning I got a wild hair and wanted to make a plush ribbon teether for Benjamin.... I had a 2 year old helper for this one and I even got breakfast served to me in my sewing room! It turned out to be a VERY productive day!


I started with lots of ribbons in lots of colors, two fleece circles, and pins!


Then I pinned them on and pinned the fleece.


Sew around, leave a space to turn it, then turn.


I stuffed it with batting and a few jingle bells!


Then I added the ribbon to the space where I turned it and top stitched around the whole thing. You can skip this step and just  hand sew the opening shut, being sure to catch the ribbon.
Personally, I like the top stitching. It isn't pretty, but it's cool and Benjamin likes it! :)


And then in walked hubby with this:
MMmmm!! Soo cute! Egg sandwich with a turkey sausage face! Kinda makes you wanna do this:


Arrrgh!

Back to crafting!

I FINALLY was able to machine sew the binding on to Benjamin's quilt! It STILL is not done though.. that would be because in order to finish it, I have to hand stitch the binding to the back. Let me just say that hand stitching is NOT my idea of fun!

I pinned it on.


Then sewed it on.


And then I got to that gap where the binding meets. I looked at the quilt-a-long I have been using to help me (thanks Bree!!), but try as I did.. I could NOT for the life of me do the funky  thing she did with the ends. I think I cut them a smidge too short to be able to fold them over on top of each other like she did. So.... I had to think. And, think hard. Because, at this point if I would have messed this up, I would have slit my wrists. For real. I figured out that I would just sew straight down, snip the excess, then sew it to the quilt like the rest of the binding. The picture above shows how I just sewed straight down there.


See? Then I snip snipped that excess off on the right.


I layed it flat and then sewed the gap there.


And looksie, I did it.. and IT WORKED!!
And, drum roll please... bah duh bah duh bah duh bah duh....
QUILT BINDING IS DONE!!!
*takes a bow*

Since I still had some time on my hands, I got cracking on a pacifier clip for Benjamin, since I lost his (which *amazingly* showed up right after I finished this one!).
It's easy peasy. I just sewed a fabric sheath, turned it, top stitched, sewed a clip on one side and an elastic loop on the other. This owl fabric is sort of nostalgic for me. It is what I used on my vey first (pretty crappy, I might add) tag blanket. Ben has a coordinating crinkle tag toy hanging on his infant carrier as well (not crappy, I might add!) ;)

Okay and if you EVER need to turn a sheath of fabric for whatever reason, you MUST get one of these nifty tools!! I picked it up at Joann's for half off, plus my teacher discount, of course. So, it was pretty cheap actually, but SO rad!! It sort of makes you want to turn tubes of fabric for sport!


This is the one I have, it came with three different sized tubes! Love!

And.. my final Saturday project was re-usable snack bags! These are SO AWESOME!! I have plans to make a ton of these and sell them! These two are fabric bags with a fabric lining and velcro closure.
The ones I make to sell will have a nylon lining and I will have more sizes! :o)
Brooke loves these as well. She thinks the velcro is fun!


Friday, July 23, 2010

The quilting = The done!

Woot! Woot!! I FINISHED QUILTING my quilt!!! The clouds have parted and the angels have sung! All is right in the world! However... I wasn't sure I'd make it! One of my Facebook status messages while I was quilting yesterday was something along the lines of: "If my sewing machine was a person I would stab it". All was hunky dory until it ran out of bobbin thread. That seems to send Sadie (my sewing machine) into conniptions and it takes some finagling to get her back on track! Here's proof:

And.. here is more proof:

(and yes, that was two separate times.. this happened no less than 4 times)

After much seam ripping and cursing, I finally got the train back on the tracks! All I had left was free motion quilting over the borders. Holy crappola... that's a lot of landscape to cover. Have I mentioned that free motion quilting is a bit of a workout?! I kept telling myself, "I think I can, I think, I can" and kept swirling away! I finally finished (praise God!!) and then it was down to the floor to trim it up!


Can you say done? D O N E! Yippeeee!


I personally think the back looks almost as cool as the front!


Now that I'm done with the quilting, it's on to the binding!! I cut my strips, sewed them together, then had to iron them.


That is as far as I got (that ^ picture) before babies woke up!
 A pretty darn tootin' successful sewing day!!

Wednesday, July 21, 2010

And the quilt goes on....

I have to tell ya, this quilting thing sure is a test of my patience and stamina. Not in a "this is too hard" sort of a way, but more in a "this thing takes forever and I'm an instant gratification sort of a gal". I don't do projects that take a long time! I know I will be thrilled to bits when it's done.... (and then I can take a mental break and work on some quick projects before finishing up Brooke's quilt!). BUT, will it ever end?! I am supder de dooper proud of all that I have done so far, so I must press on! My post today is actually of the work that I did during naptime, yesterday. Today I had a workshop from 9-4 and therefore I missed out on my naptime craft time! Boo hiss! The workshop was swell though, and I learned a lot!

My afternoon began with an AWESOME package in the mail from Three Rivers Fabric on Etsy. She had the best price on the yardage I need for the quilt backing of Brooke's quilt. I have to say, fabric makes me happy!!! Here's the gorgeous stuff I got!

I LOVE this fabric. Like true love!

So many possibilities with this one as well!

This will be cute for a composition cover,
or even a little teacher apron, crayon roll, or art case!

This floral print is the backing for Brooke's quilt!

Moving on... to the quilting! Aaaaah the quilting! So, you can see that each letter in the panel has a box around it. Well, let's just say I've learned some things. For one, I ALWAYS do things the hard way!! I should have just done the free motion quilting all over the quilt, not paying attention to the boxes, or borders.. But, not moi! I quilted the tree first, then around the tree, then inside each letter box, then I quilted straight lines AROUND. EVERY. LETTER. Holy madness batman! That calls for a whole LOT of stitching, stopping, backstitching, trimming, raising the needle, sliding the fabric down, rinse. repeat. Oh well, so what if I could have probably been DONE with the quilting had I done it the easy way. This is teaching me patience, remember?!?! ;) I will say, it does look super awesome on the back. Like uber neato!

Here is the back.. I have a crap TON of strings to trim. Have I mentioned that I don't like trimming strings?.. yeah, well it's not my favorite thing to do, we can leave it at that!
(That's a wet spot on the bottom of the tree trunk. It has dried now.)

And now for the cool, fun things that are hidden in there!

See the heart and the U? (Love you!)


Butterfly!


Turtle!


Bird!

Here is the front. All I have left to quilt is the white and green borders.

Someone wanted to get in on the action!


I always die laughing when I upload pictures and find things like this:

She LOVES to take pictures and steals my camera on a regular basis!

See yall tomorrow and thanks for reading! :)

Monday, July 19, 2010

McQuilts-a-lot


After our super fun play date at the Science and History Museum, it was time to get cracking on the quilt! I need to get this DONE before my SADD sets in and I lose interest!! I'm feeling a little twitchy as it is.. and I have happened upon a couple of tutorials I'm DYING to try out!! Focus, Tracy. Focus!

All I did today was free motion quilt. I got the middle panel done and then quilted inside of each of the letter squares around the center panel.


Tomorrow I have to do the straight line quilting around the letter boxes and quilt the borders. You are supposed to quilt the border fabric, right? (better google that!).

I feel like I got a lot done today, but of COURSE I had a couple of snags along the way! First my bobbin of thread ran out. No biggie, just add a new one, right? Yup. But, for some reason the tension was all off and I had a MESS. It was pulling the red up to the top and the bottom wasn't pulling tight. So, I took it off and messed around w/ the tension and used a scrap piece of fabric to get it figured out. I ended up working back with it on the original tension I had. I had to re-thread my top thread a couple of times and I think that fixed it. Odd.


I finally got the ball rolling and I was cruising along.. then, to my dismay, this happened:

Whoops! My material got folded under and I sewed it on to the back. Nothing a little seam ripper can't fix! That stupid tool sure does save my a$$ a lot!

I thought I'd show you my super rad gardening  gloves that are my new BQF (best quilting friend)! They have saved my fingers from a countless amount of finger pricks! These have a deerskin palm and fingers so they grip the fabric well, but are soft and supple as well!

Another one of my favorite sewing items is my electronic bobbin winder! I picked this up for half off, plus my teacher's discount, so it was cheap! It's super fun!!


Up tomorrow: Play date on the Mini Train and hopefully finishing up the quilting!! Woot!
Related Posts Plugin for WordPress, Blogger...